How to make a hologram of yourself (and put it on your business card)
No projector, no green screen, no app. Here is what a phone "hologram" really is and how to put one of yourself on a printed card in about fifteen minutes.
Tutorial6 min read
Key takeaways
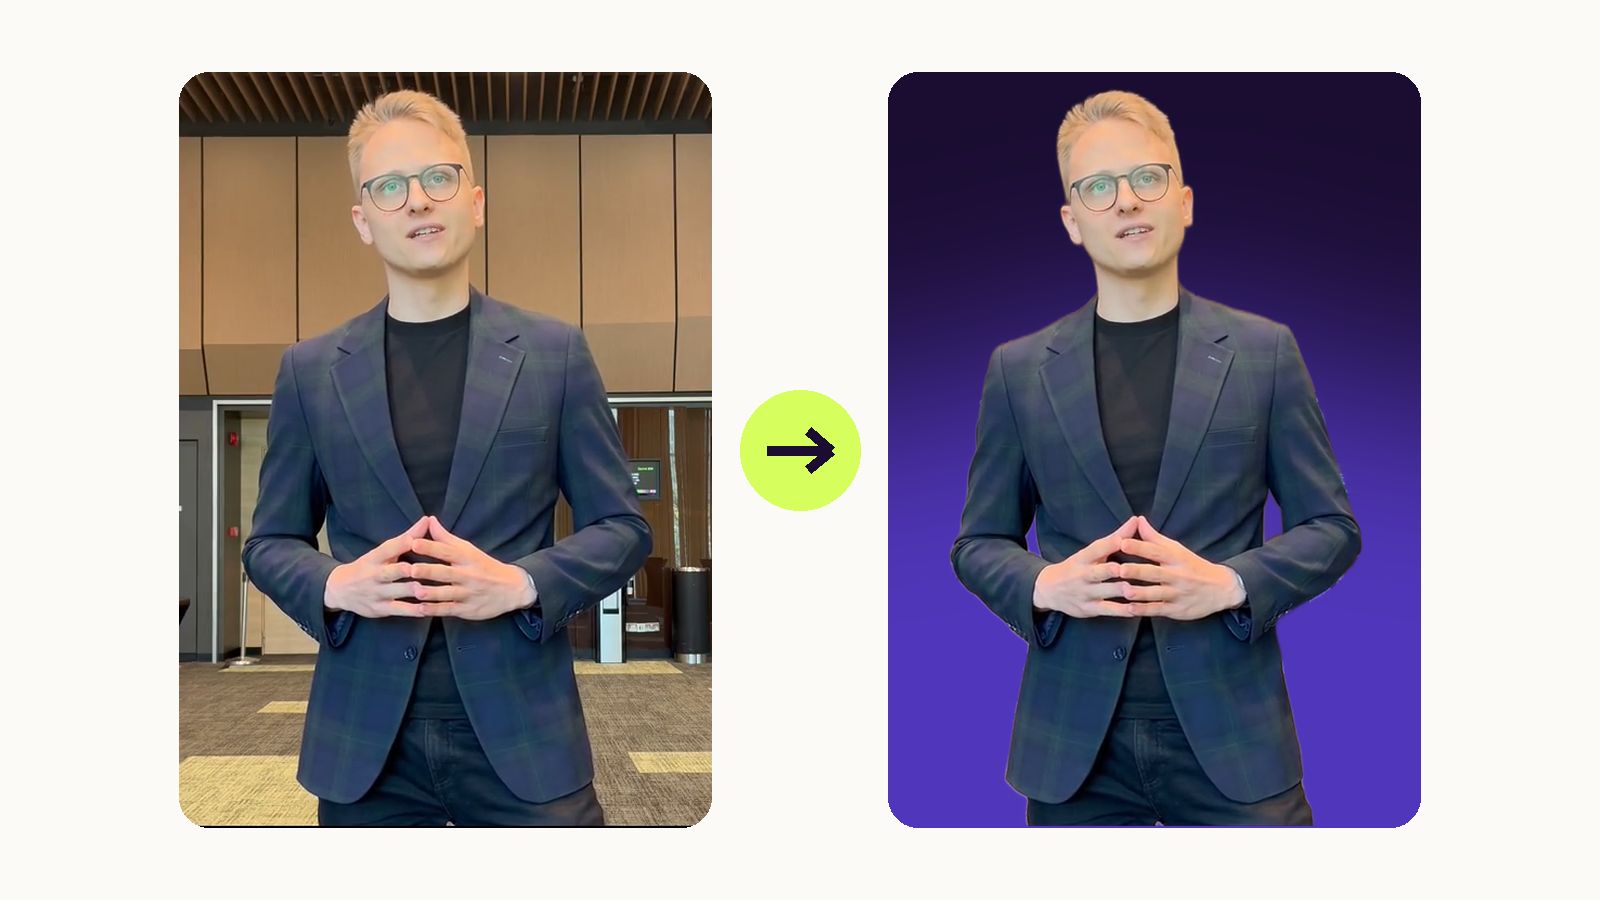
- A hologram on a phone is a video of you with the background cut out, standing on a real object you see through the camera.
- All you need is a 10 to 30 second phone video against a plain wall. No green screen.
- In Meishi you upload or record the video in your card's AR step, and the background is removed for you.
- People scan the QR code on your card with their normal camera app. Nobody has to install anything.
- Every scan is counted, so you finally know whether your card was looked at.
In this article
What "hologram" means on a phone
When people search for how to make a hologram of themselves, they usually picture Princess Leia flickering above a table. That kind of floating light image needs special hardware and does not fit in a wallet.
What you can make today, with nothing but a phone, is an AR hologram. It is a short video of you with the background removed. When someone points their camera at your business card, the video appears standing on the card. Move the card and you move with it. Tilt it and the perspective follows. Because you are cut out and anchored to a real object, it reads as "you, in 3D, on my desk" rather than "a video on a screen".
A few things it is not:
- Not a true hologram. Real holography records light with lasers. Nobody needs that for a business card.
- Not a pyramid trick. The plastic pyramids you put on a phone screen show a reflection, and only to the person holding them.
- Not an app. A web AR hologram opens in the phone's browser, which is the difference between people trying it and people giving up.
What you need
- A short video of yourself. 10 to 30 seconds, filmed on any recent phone. If you have never filmed yourself, read our guide on how to film yourself with a phone first. It takes ten minutes and makes a big difference.
- A card design with a QR code. You can design it in Meishi or import it from Canva.
- A free Meishi account. You can start for free and pay only if you need more.
Step 1: Record a video that cuts out cleanly
The background is removed automatically, so you do not need a green screen. You will get a cleaner cutout if you help the software a little:
- Stand in front of a plain wall, about a step away from it, so you don't cast a shadow on it.
- Wear something that contrasts with the wall. A dark jacket in front of a light wall is ideal.
- Keep your whole upper body in frame, with a little space above your head. Hands that drift out of the frame get cut off.
- Make sure you are the only person in the shot, and nothing moves behind you.
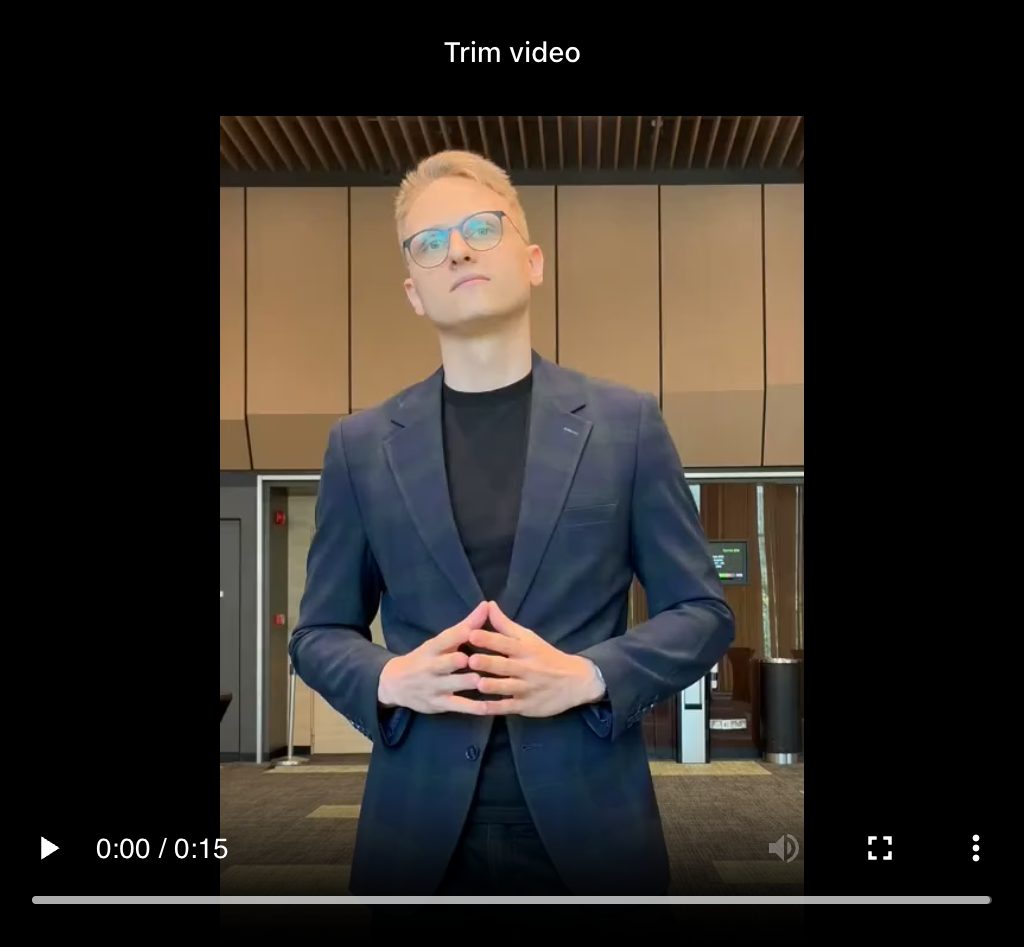
- Hold still for a second at the start and at the end. Those are your clean trim points.
Step 2: Design your card
In Meishi, open Cards and click Create card. You can Import from Canva or Start from scratch in the card editor, in EU (85 × 55 mm) or US (90 × 50 mm) format. Every card gets a QR code, which is what people scan.
One thing matters more than most people expect: the AR camera recognises your card by its detail. A photo, a pattern or a texture works well. Large plain areas and repeated stripes work badly. If your design is too plain, the editor warns you with "Hard to scan in AR" before you print anything.
Step 3: Add the hologram
After the design, you land on Manage AR Content. The card's Front and Back are tabs, and for each side you choose what appears: a Hologram, a 3D scene or No AR. Pick Hologram for the side people will scan.
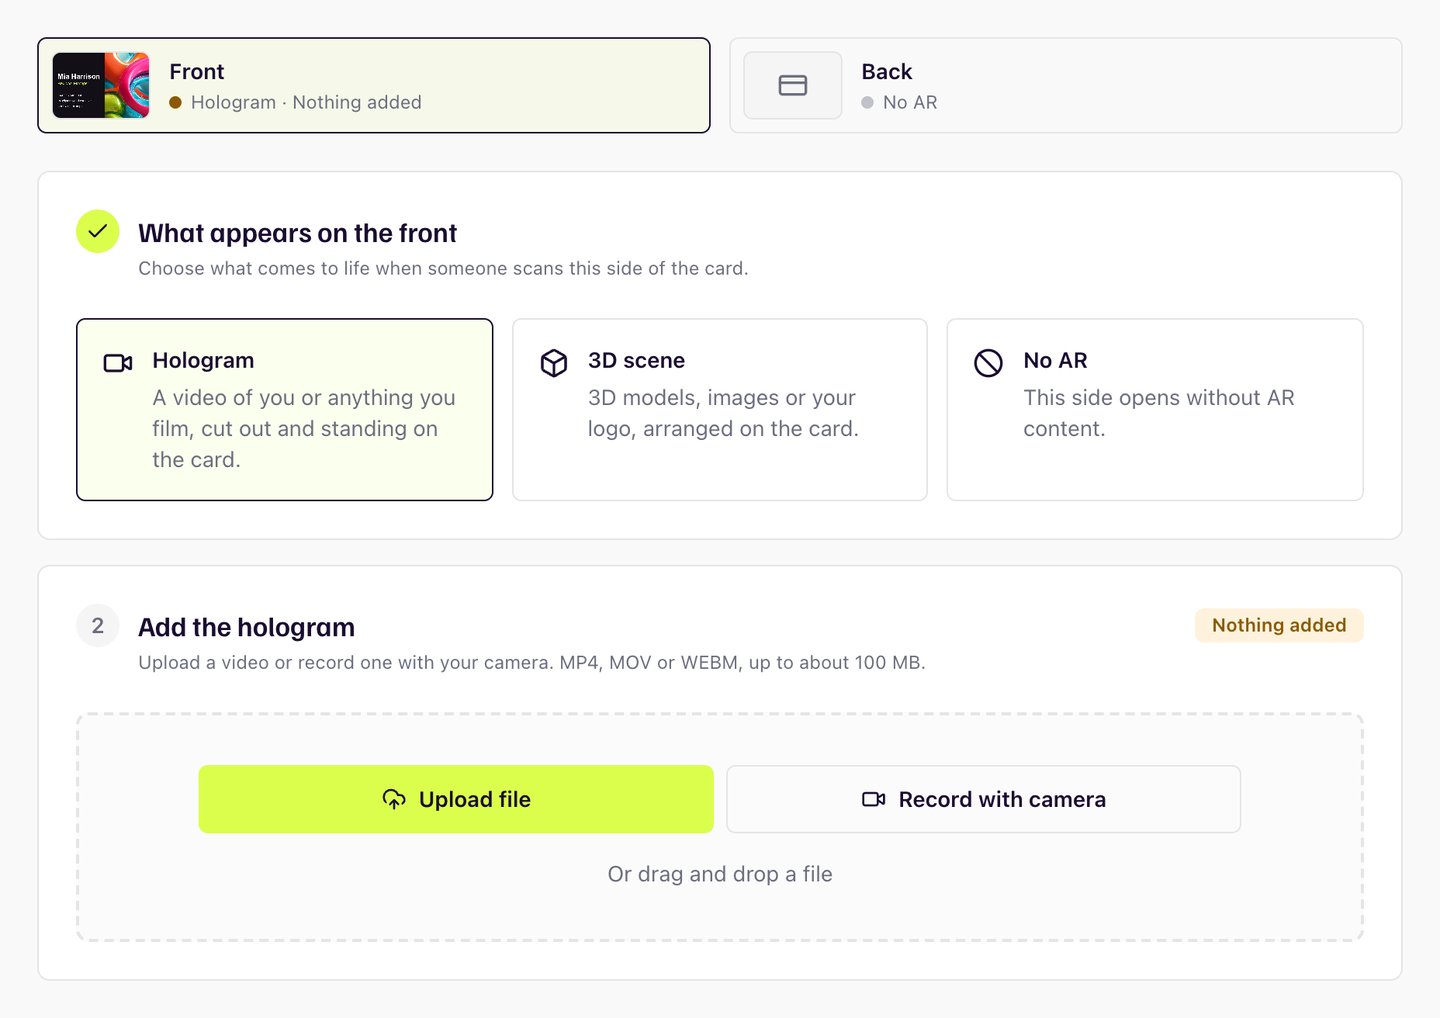
You have two ways to add your video:
- Upload file. MP4, MOV or WEBM, up to about 100 MB and 59 seconds.
- Record with camera. Meishi uses your front camera, lets you trim the clip, and then shows a Position on card step where you drag yourself left or right so you don't cover the QR code.
Click Continue and the video goes off for processing. Our servers cut out the person, fit the video to your card and prepare it for AR. It takes a few minutes, and you get an email when your card is ready.
Step 4: Choose what people see when they scan
Next, pick up to five social links for the card page. Then decide what a scan opens under What a scan shows:
- AR and card page, with the switch. The default. People see your contact page and can switch to AR.
- AR only, or AR only, bare screen if you want nothing but the hologram.
- Card page only, no AR, for a simple digital card.
Step 5: Test it, then print
The last step shows your finished card. Before you print anything, scan the preview on your screen with your phone. It is the fastest way to catch a QR code in the wrong place or a video that starts too late.
Then download the print-ready PDF (with cut marks, or a Flyeralarm preset with bleed) and send it to any printer. Naming the card locks its design so the printed card always matches the AR. Your video and social links stay editable, so you can swap the hologram next year without reprinting.
What people see when they scan your card
They open the camera app, point it at the QR code and tap the link. No download, no account.
The card page shows your name, title, contact buttons and an Add to contacts button that saves you straight into their phone. Switch to AR, point the camera at the card, and you appear on it. The video starts muted, with a button to turn the sound on, so make sure your first seconds work without sound: a smile and a wave go a long way.
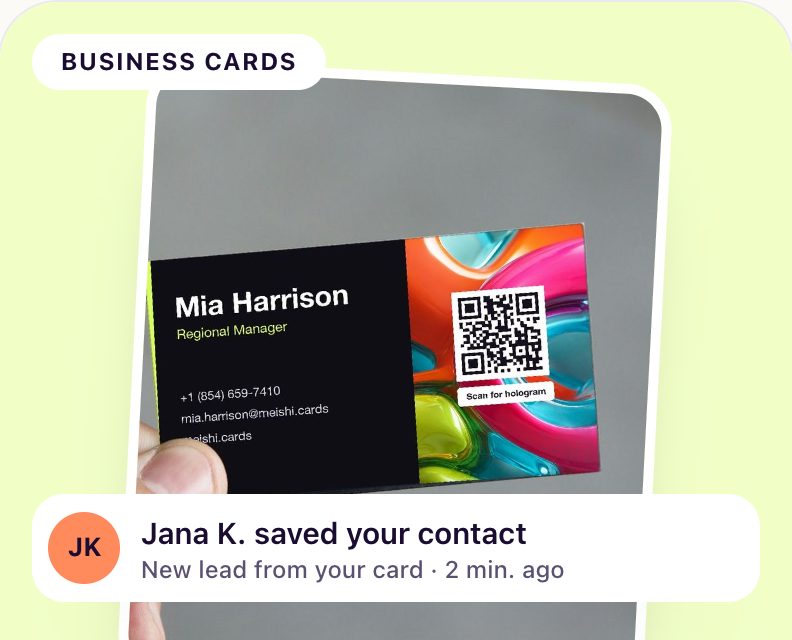
A few seconds in, people can also leave their own details, which land in your Leads. And every scan, saved contact and lead shows up in your dashboard, by day and by country.
Five tips for a hologram that looks great
- Keep it short. 15 to 20 seconds is plenty. People watch a hologram standing in a hallway, not on a sofa.
- Face the light. A window in front of you beats any filter.
- Talk to one person. Look into the lens as if the person holding your card were right there.
- Plan the first frame. It is what people see before they tap for sound.
- Refresh it. New role, new offer, new season? Upload a new video. The printed card stays the same.
Frequently asked questions
Is a phone hologram a real hologram?
Not in the physics sense. It is augmented reality: a video of you with the background removed, shown standing on a real object through the phone camera. It looks three-dimensional because it stays anchored to the card as you move.
Do people need an app to see my hologram?
No. They scan the QR code with their phone camera and the hologram opens in the browser. It works best in a recent Safari on iPhone or Chrome on Android.
Do I need a green screen?
No. Meishi removes the background automatically. A plain wall behind you and clothes that contrast with it give the cleanest edges.
Can I use a video I already have?
Yes, if it is an MP4, MOV or WEBM file under about 100 MB and 59 seconds, and you are the only person in it. Shorter clips of 15 to 30 seconds work best.
Can I change the video after my cards are printed?
Yes. The QR code on the card stays the same, and you can replace the hologram and the social links in Meishi at any time without reprinting.
How long does it take?
Recording takes a few minutes, setting up the card about ten, and processing the hologram a few more. You get an email when it is ready to scan.