How to add augmented reality to posters, flyers and packaging (no app, no code)
A step-by-step guide to turning a poster, a flyer or a box into something people point their phone at, with real screens from start to finish and tips on what actually gets scanned.
Tutorial6 min read
Key takeaways
- Web AR runs in the phone browser: people scan a QR code and the print comes alive. No app to install.
- Choose artwork with detail and contrast. Big plain areas and repeating patterns are hard for the camera to follow.
- Put the QR code where it is easy to scan, and tell people what they will see.
- Show one short thing: a 10 to 20 second video, a person, or a 3D product.
- Count opens per day and per experience to see which print, place and message works.
In this article
What AR print is, in one minute
Augmented reality print is ordinary print with a second layer that only appears through a phone. Someone scans the QR code, the camera opens in their browser, and when they point it at the poster, the flyer or the box, a video or a 3D object appears on top of it and stays attached as they move.
Two things changed in the last few years that made it practical:
- No app. Web AR runs in Safari and Chrome. Asking people to download an app for one poster never worked; a QR code does.
- No developers. You no longer need a studio to build a campaign. If you can design a flyer, you can make an AR experience.
Ideas that work
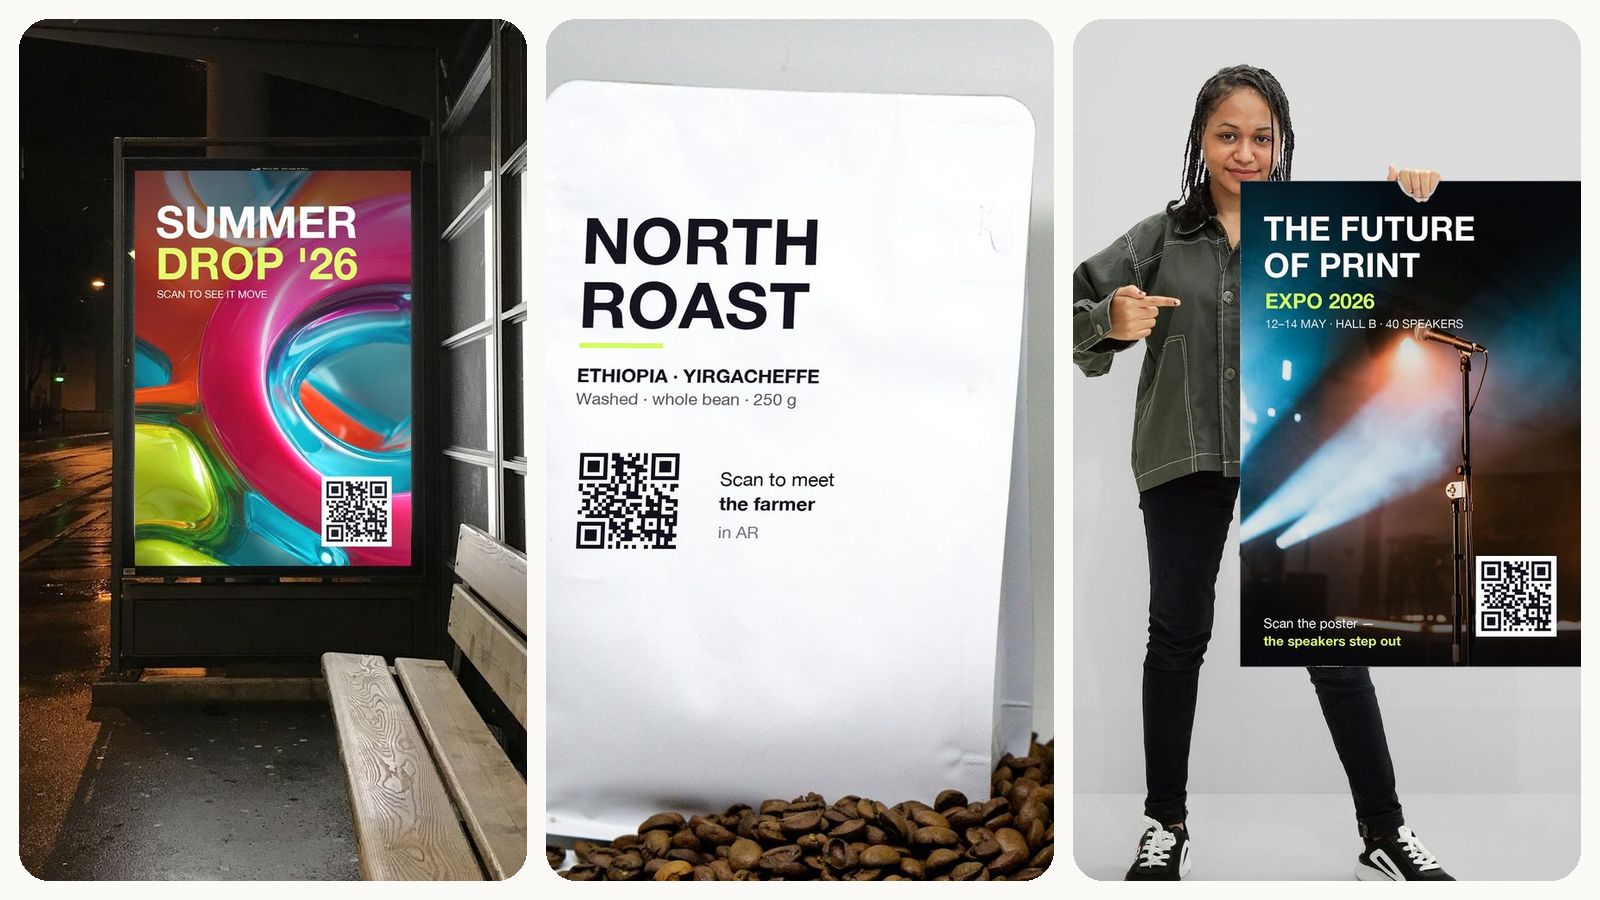
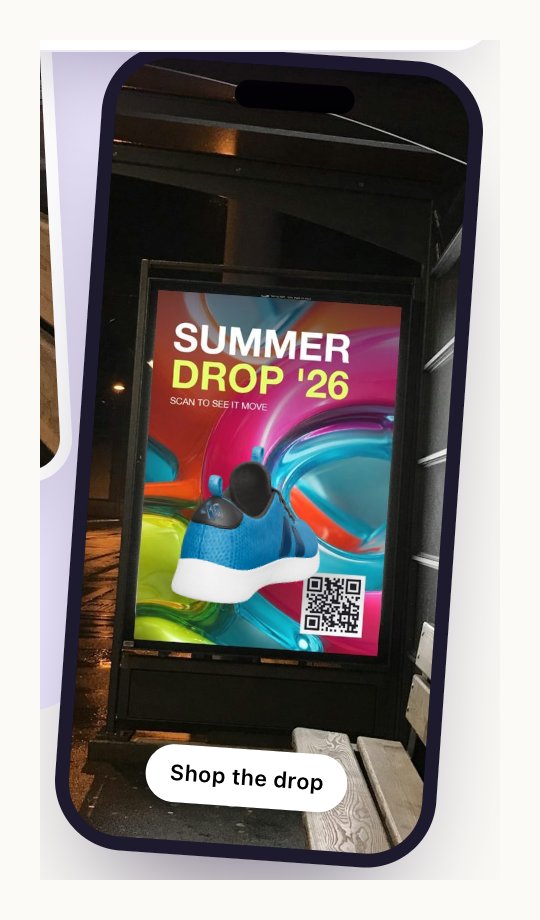
- Posters and out-of-home. A product launch that moves, a film poster with the trailer on it, an event poster where the line-up introduces itself.
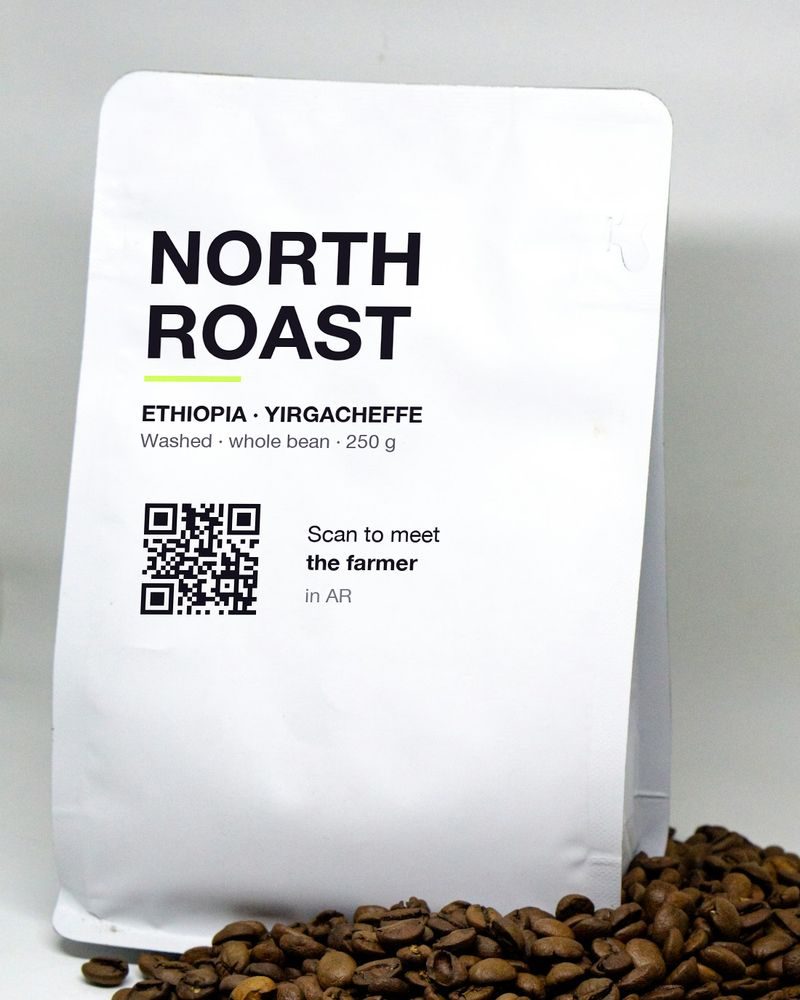
- Packaging. The farmer, the brewer or the designer appears on the box and tells their story. Or a 3D version of the product you can turn in your hand.
- Flyers and direct mail. A short personal video from the owner turns a leaflet into an invitation.
- Events. Badges, booth walls and table cards that show a speaker, a demo or a map.
- Menus and point of sale. The dish in 3D, the chef explaining the special.
Whatever you pick, the rule is the same: one short moment, worth the scan. Nobody wants a five-minute brand film on a bus stop.
Step 1: Choose the image people will point at
In Meishi, open AR Experiences and click Create experience. The first step asks for the image: the artwork you are going to print. JPG, PNG or WEBP, at least 480 pixels on its short side. In practice, upload the real print file.
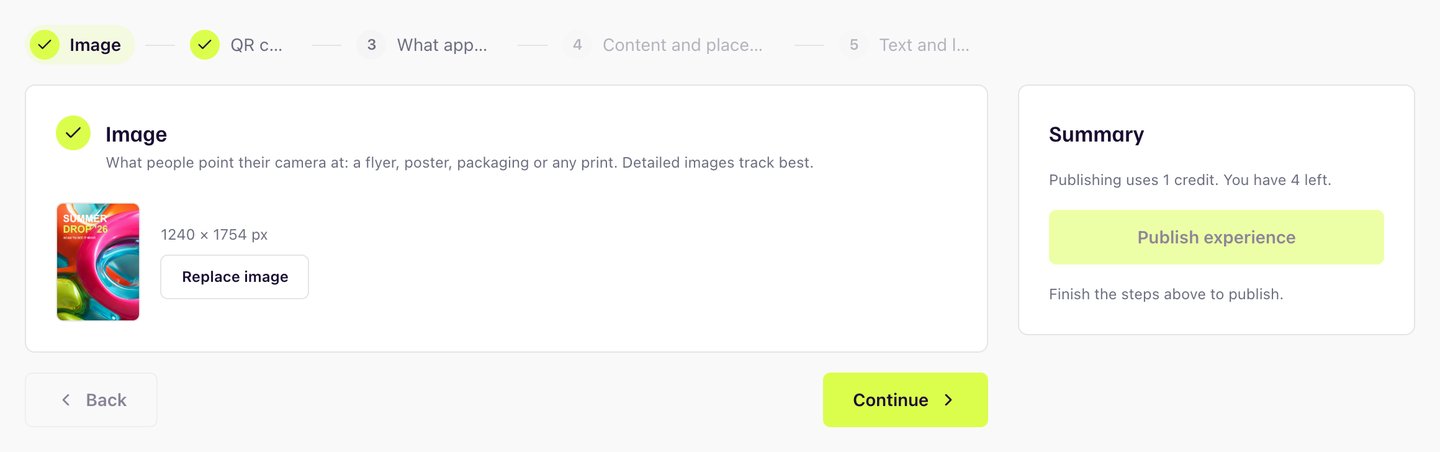
The camera recognises your print by its detail, so the artwork matters:
- Detail and texture track well. Photos, illustrations, patterns.
- Big plain areas track badly. A white poster with one line of text gives the camera nothing to hold on to.
- Repeating stripes and grids confuse it, because every part looks the same.
- Matte beats glossy. Glare on a shiny surface hides the detail the camera needs.
Step 2: Place the QR code
Next, drag the QR code to where it will be printed and resize it from a corner. The editor won't let you make it smaller than the size that still scans reliably.
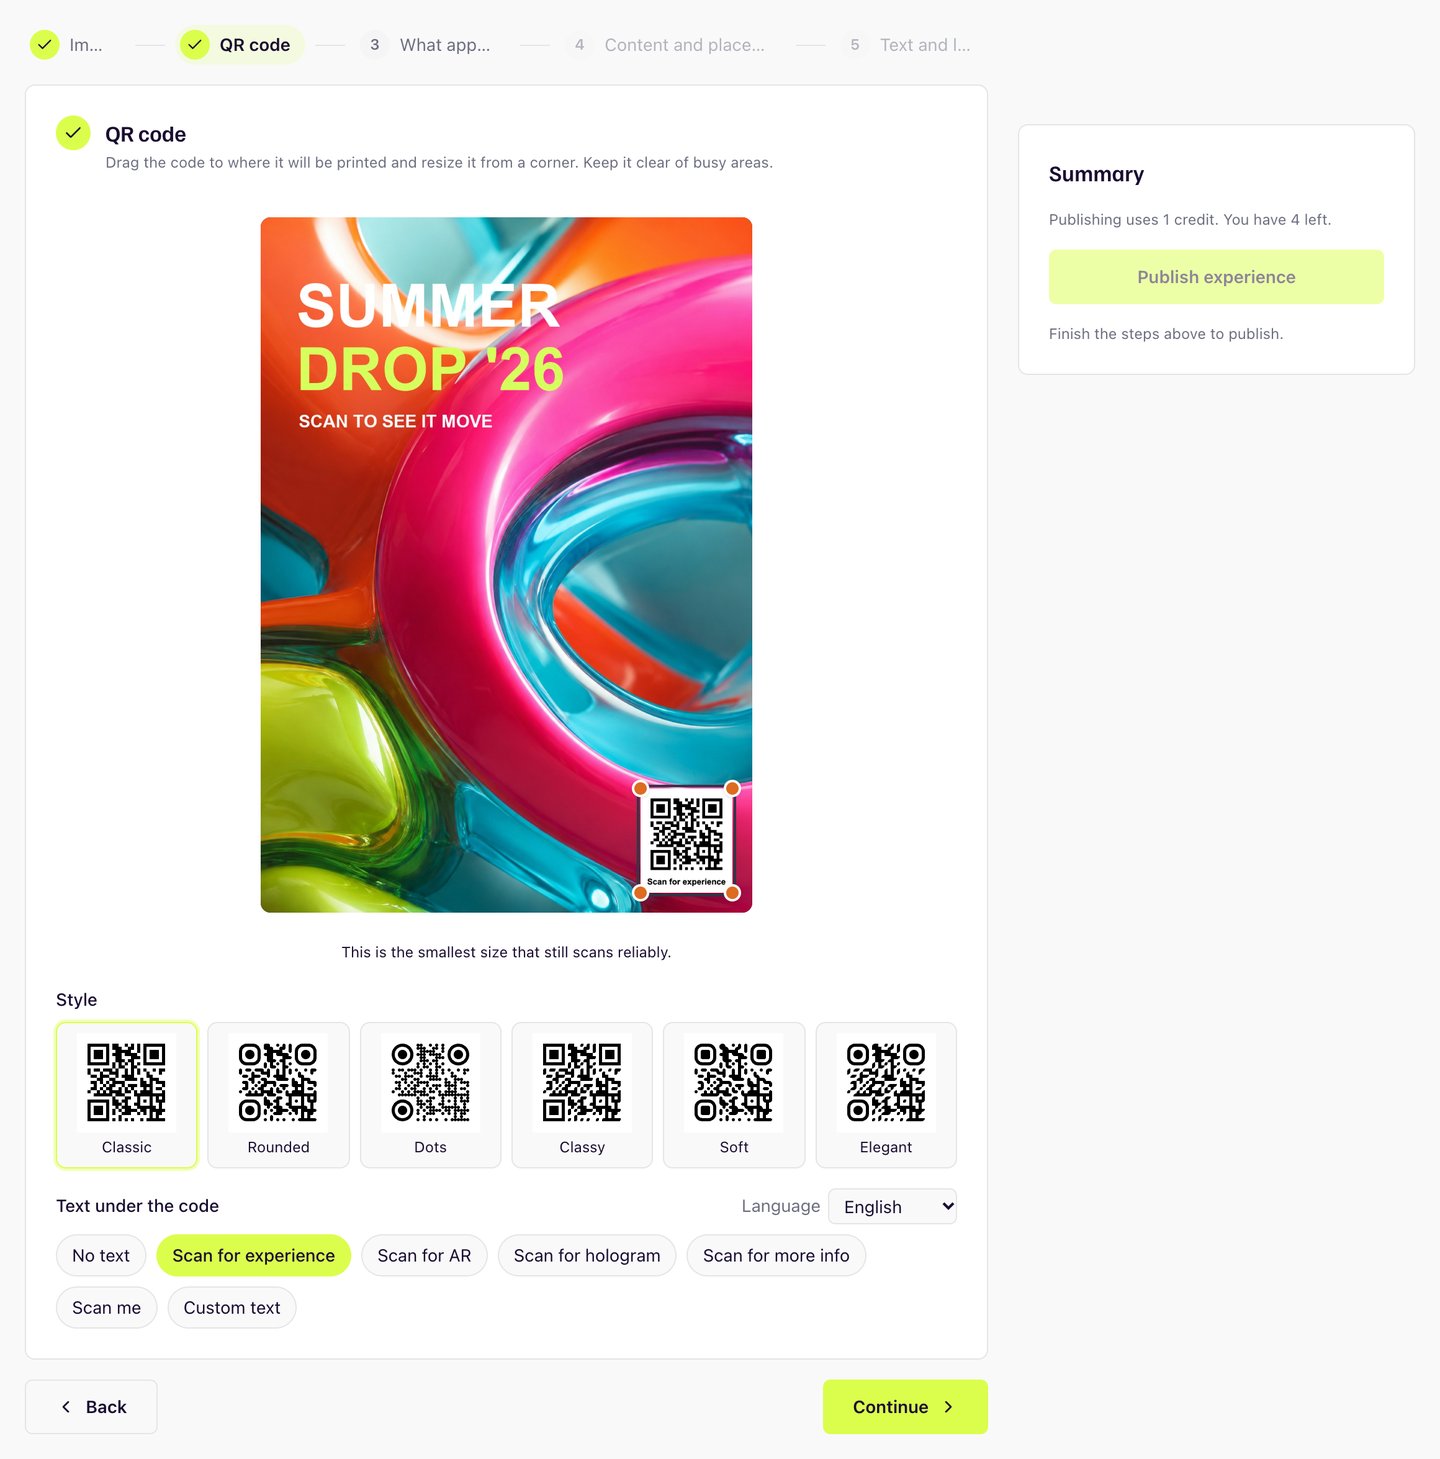
You can choose a style for the code and the words under it: Scan for experience, Scan for AR, Scan for hologram, Scan me or your own text. Use the caption to make a promise. "Scan to see it move" works better than a lonely code.
The code is drawn into the artwork itself, so the image you download at the end is exactly what you send to the printer.
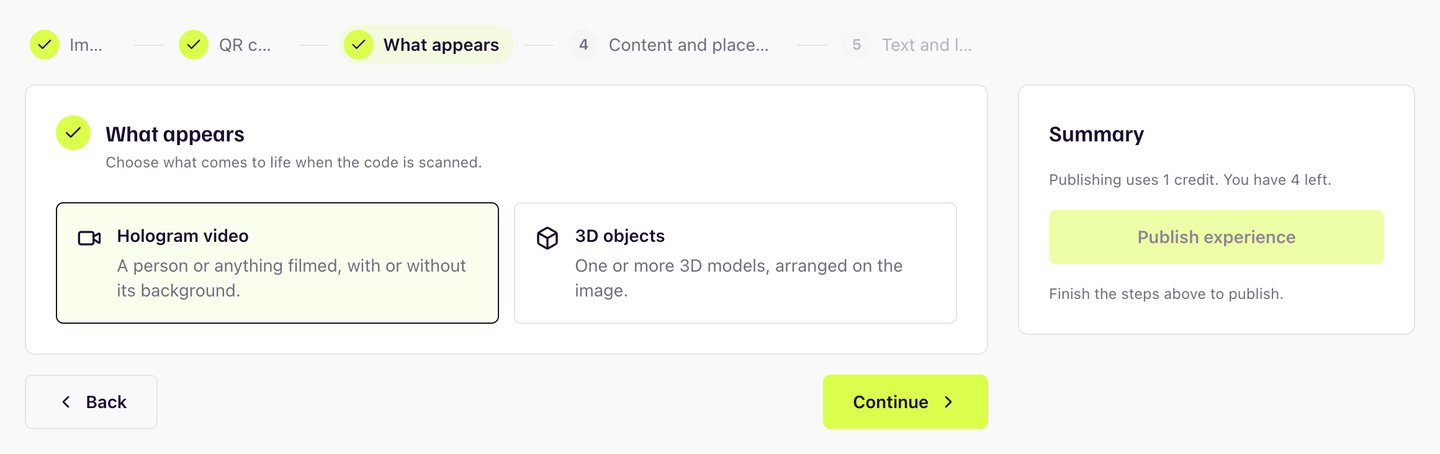
Step 3: Choose what appears
There are two kinds of content:
- Hologram video. A person, or anything you filmed, with or without its background.
- 3D objects. One or more 3D models arranged on the image.
Step 4: Add your content and place it
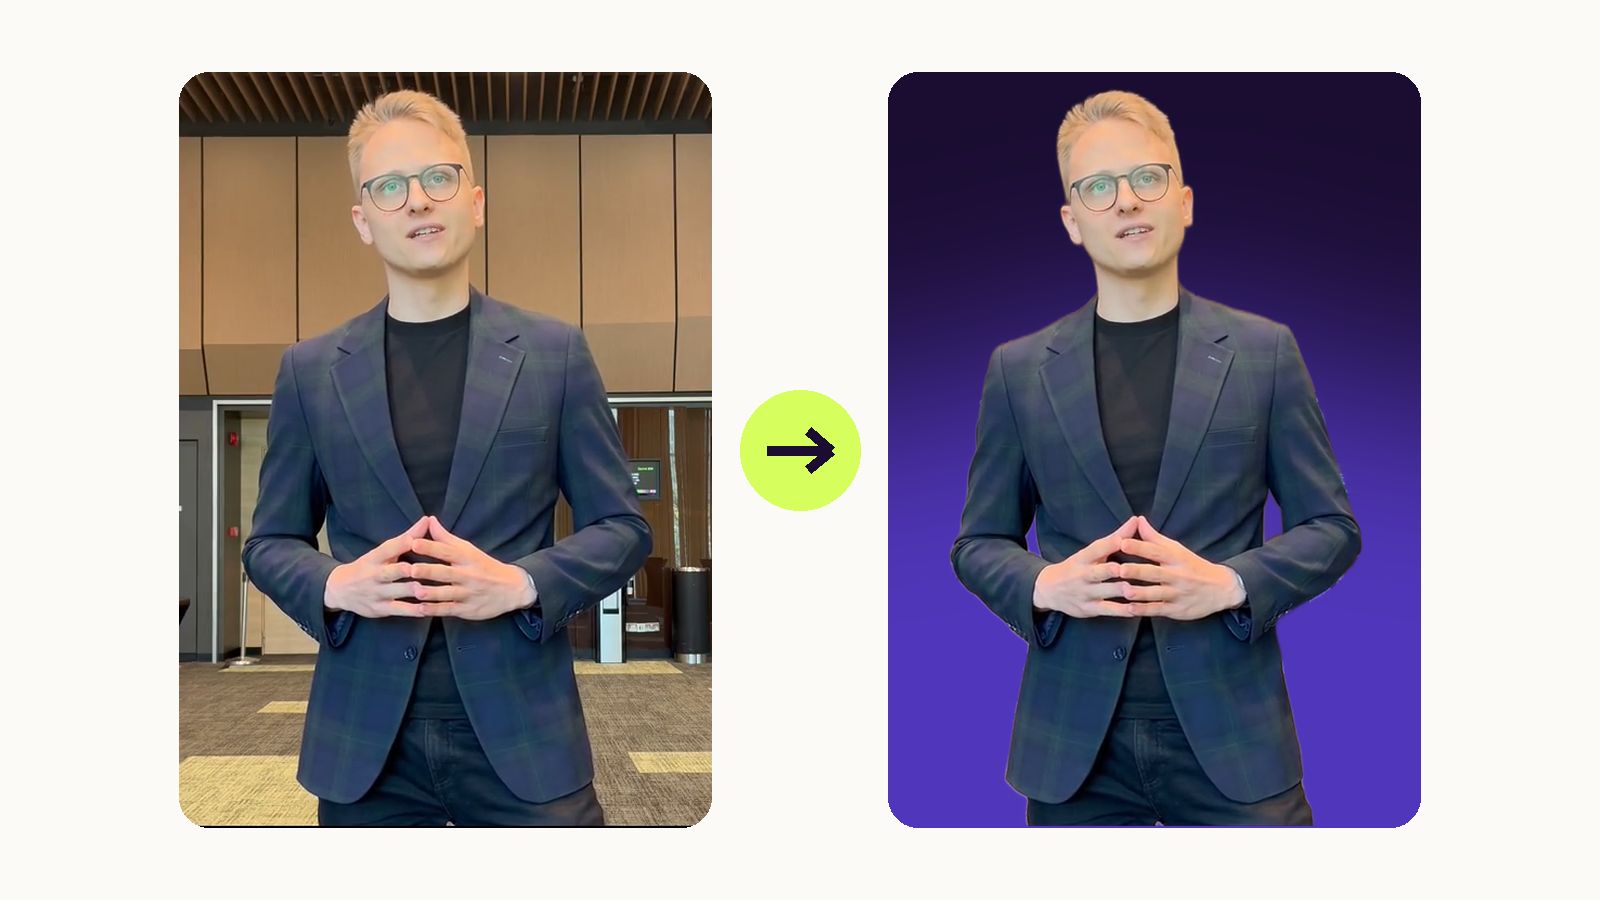
For a video, upload a file or record one in the browser (MP4, MOV or WEBM, up to about 100 MB and 59 seconds), trim it, then drag it anywhere on or around the image and set its size. Choose Remove background to show only the person, or Keep background to show the whole video as you filmed it.
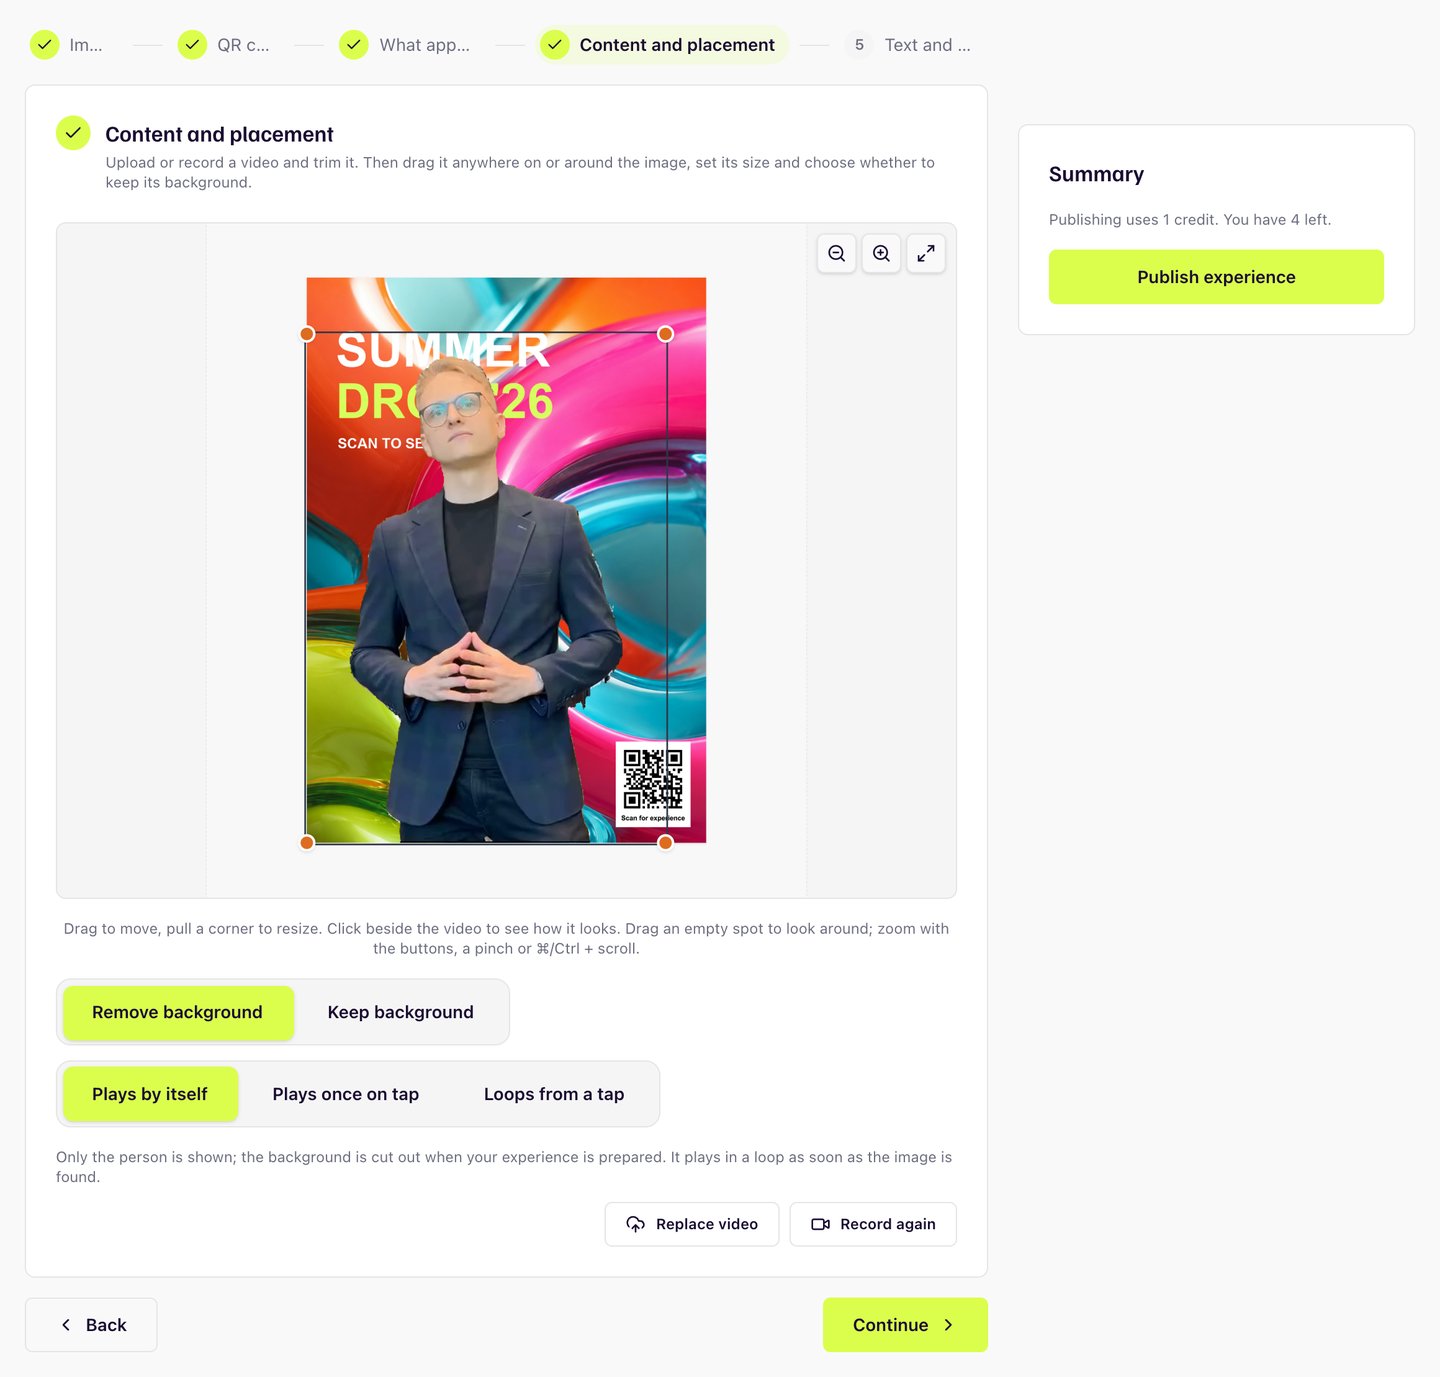
Then choose how it plays:
- Plays by itself. It loops as soon as the image is found.
- Plays once on tap. It waits on its first frame and plays once each time it's tapped.
- Loops from a tap. A tap starts it looping, and the next tap stops it.
For 3D, add GLB or glTF models (up to 50 MB) and images, and use Move, Rotate and Scale to arrange them on the print. Animated models can play by themselves or on a tap. Click Save arrangement when you are happy.
Step 5: Add a line of text and links
Optionally, add a short line of text and up to three buttons that appear over the AR view: "Shop the drop", "Book a table", "Get tickets". Links must start with https:// and open in a new tab.
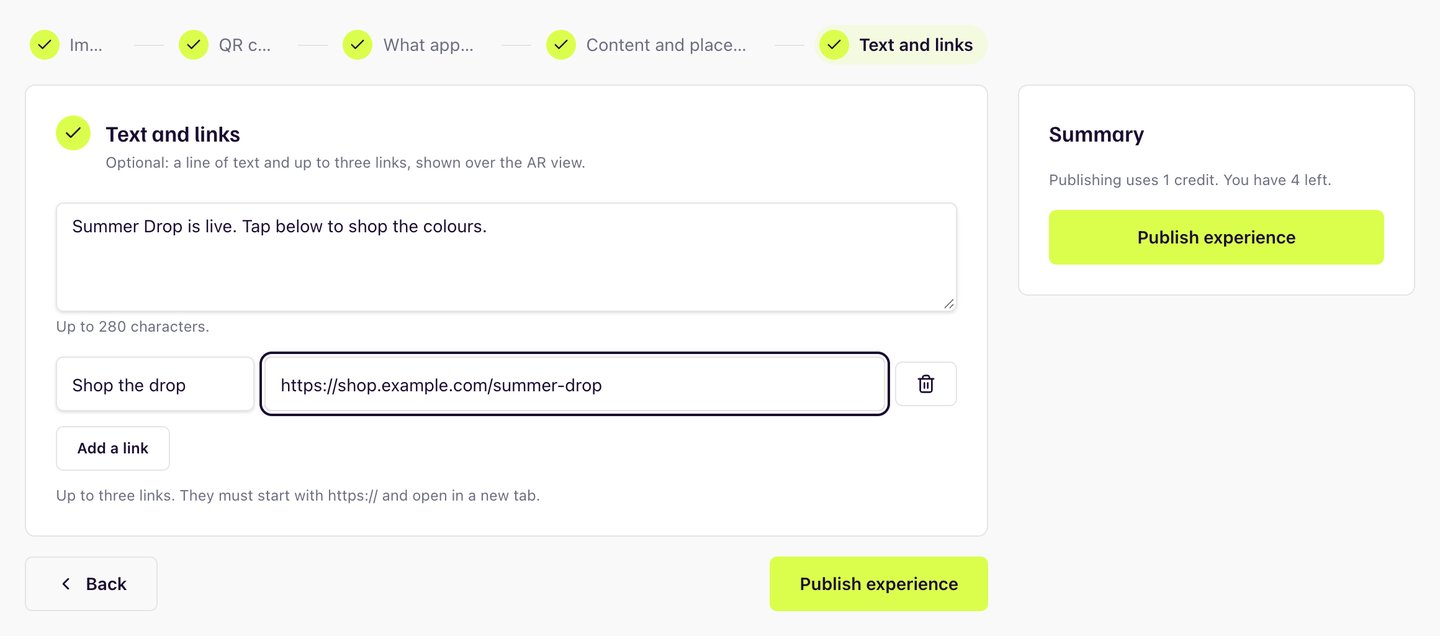
This is where AR turns into business. The moment of surprise is when people are most likely to act, so give them something to tap.
Step 6: Publish, test and print
Click Publish experience. It takes a few minutes to prepare, and you can leave the page in the meantime. When it says Ready to scan, you get a link and a Download print image button.
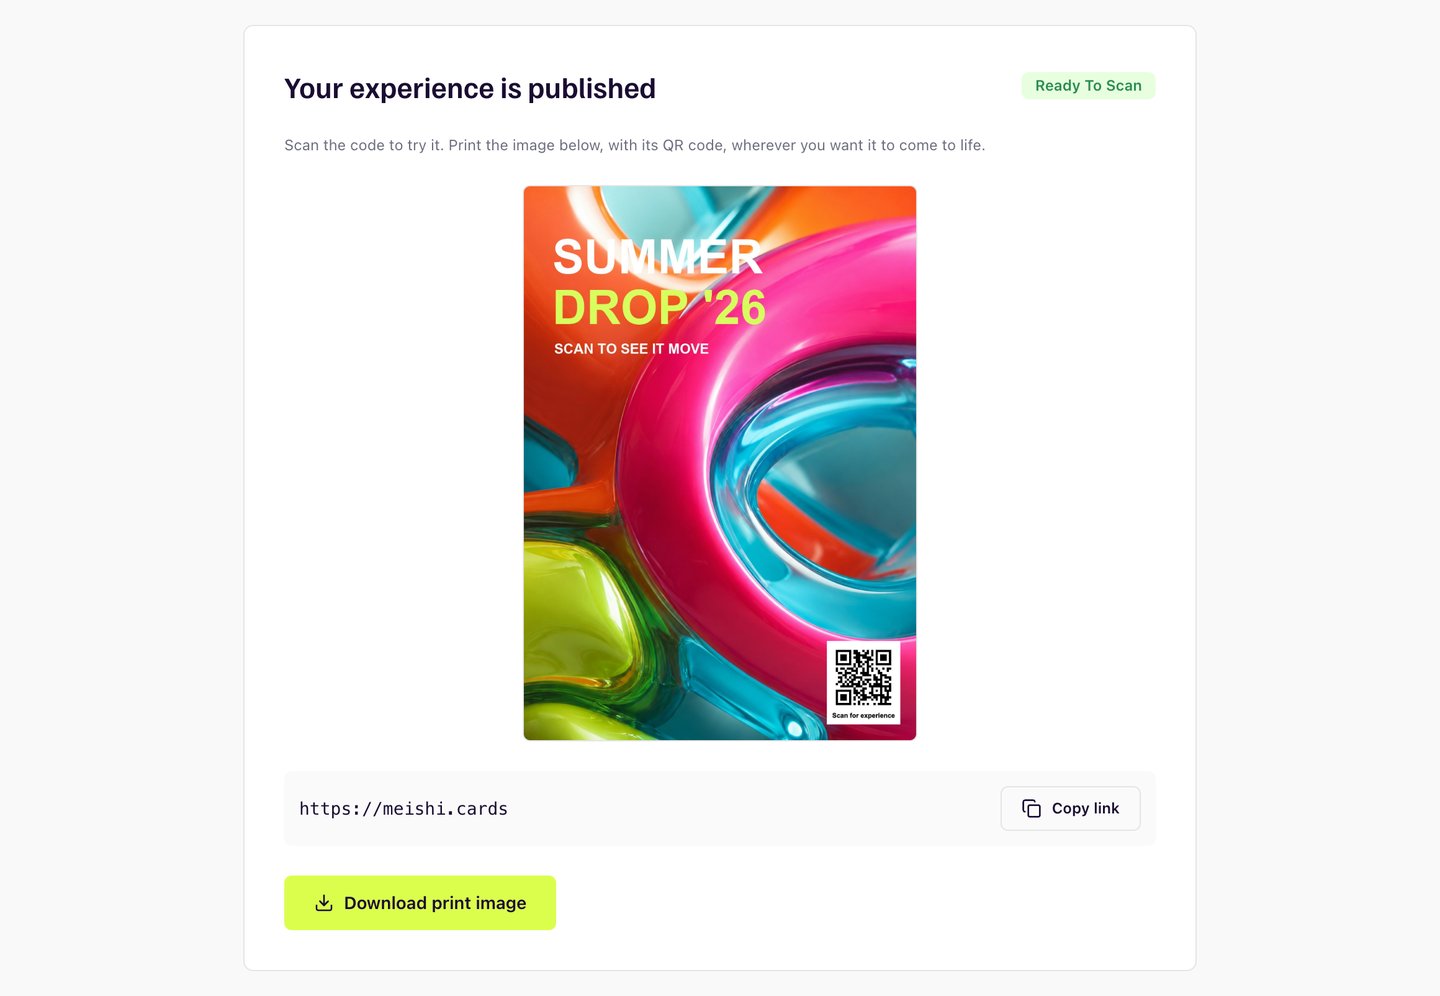
Before you print a thousand copies, print one at real size and scan it in the place it will hang. Check it in daylight and under the shop lights, from the distance people will stand.
Where to put the QR code, and how big
- Where hands and eyes are. On a poster, at eye height, not by the floor. On packaging, on the front or the top, not the bottom.
- Size it for the distance. A common rule of thumb is about one tenth of the scanning distance: a poster people scan from two metres needs a code around 20 cm wide. A business card or flyer read at arm's length is fine with 2 to 3 cm.
- Give it room. Keep a quiet margin around the code and away from busy parts of the artwork.
- Say what happens. "Scan to meet the maker" beats "Scan me".
How to measure what works
Every experience counts its opens: once per phone per day, so one curious person tapping five times doesn't inflate your numbers. In the dashboard you see opens per day and which experiences are opened most.
That makes simple tests easy:
- Make one experience per placement (the shop window, the flyer, the box) and compare them.
- Try two captions on two print runs and keep the winner.
- Watch the day-by-day curve after a mailing or an event to see how long a campaign keeps working.
Mistakes to avoid
- Plain artwork. If the camera can't follow it, nothing appears. Add texture.
- A long video. 10 to 20 seconds. Longer clips get abandoned.
- No reason to scan. The caption is half the campaign.
- A code that's too small or hidden in a fold or on a curved edge.
- No test. Print one, scan it on two different phones, then print the rest.
Frequently asked questions
Do people need an app to see AR on print?
No. They scan the QR code with their phone camera and the experience opens in the browser. It works on recent iPhones in Safari and on Android phones in Chrome.
What kind of image works best for AR tracking?
Detailed, high-contrast artwork such as photos, illustrations and textures. Large plain areas, repeating stripes and glossy finishes with glare are harder for the camera to follow.
How big should the QR code be?
About one tenth of the scanning distance. A flyer or card read at arm's length needs 2 to 3 cm, a poster scanned from two metres around 20 cm. Meishi won't let you go below the size that scans reliably.
Can I change the content after printing?
Yes. In Meishi you can change how it plays, where the video stands, and the text and links for free. A new video or new 3D objects are processed again. The printed image and its QR code stay the same.
Can I show a 3D model of my product?
Yes. Add GLB or glTF models of up to 50 MB, arrange them on the print, and choose whether animations play by themselves or on a tap.
How do I know if people scan it?
Meishi counts opens per experience and per day, once per phone per day, and shows them in your dashboard so you can compare placements and campaigns.